Overview
Resellers purchase subscriptions for their customers in the Account Center. You can buy a new subscription, add seats to an existing subscription, or upgrade a plan, and you complete checkout entirely within Account Center.
Use the links below to jump to the scenario you need.
A) Purchase a new subscription
B) Add seats to an existing subscription
C) Upgrade a subscription plan
A) Purchase a new subscription
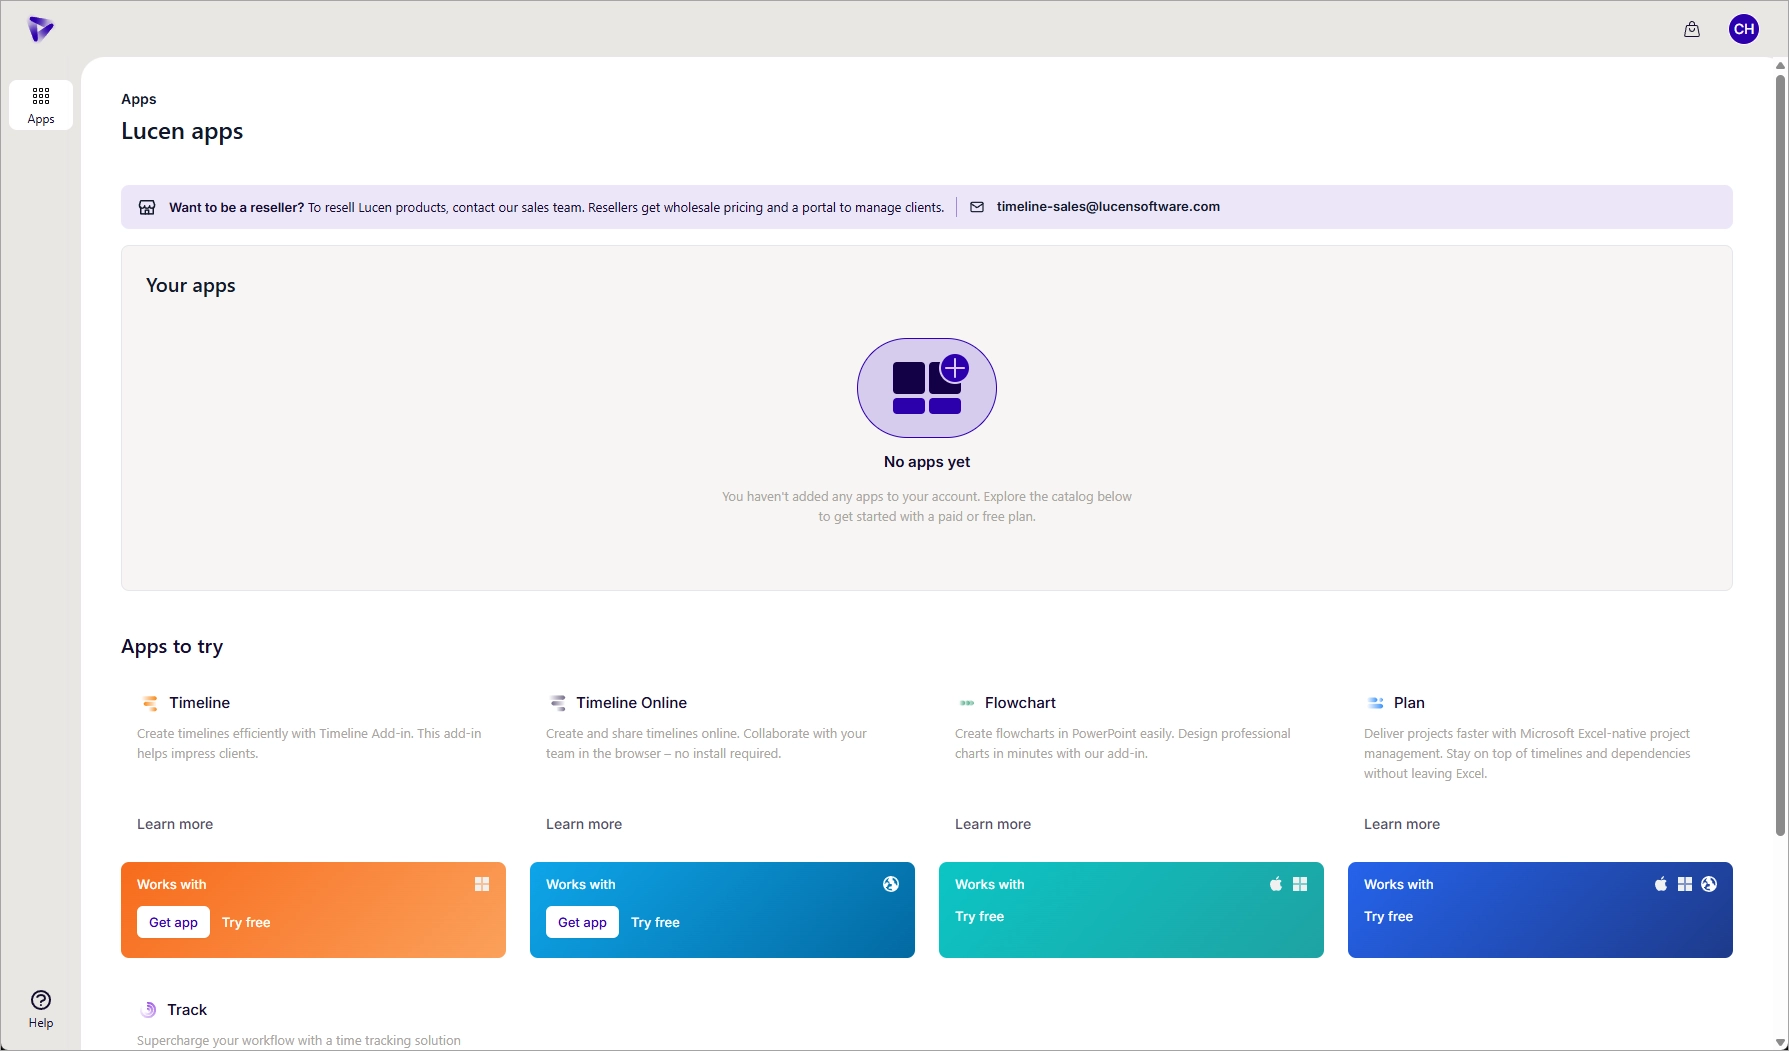
Step 1: Add a product to your cart
Go to Apps in the left navigation. Under Apps to try, find the product you want to purchase and click Get app.
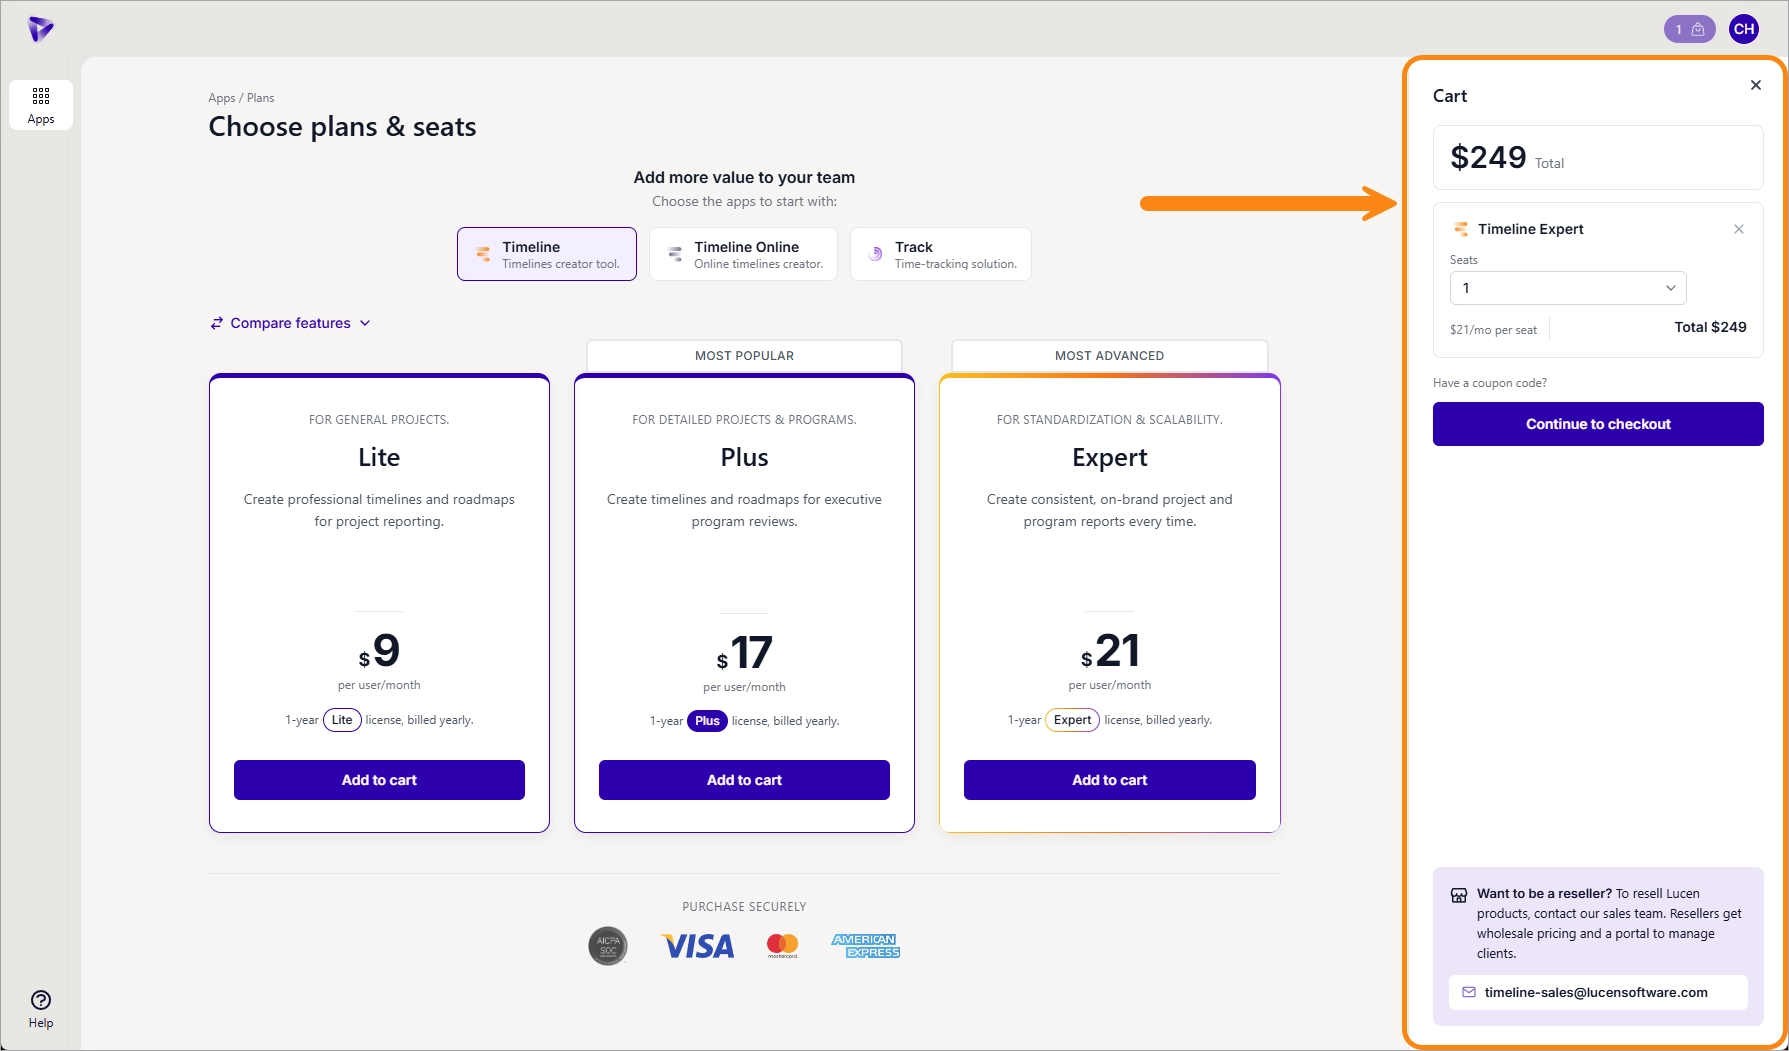
Step 2: Set your order details
In the cart, select the number of seats and review the order summary. If you have a coupon, enter it under Coupon code.
Step 3: Assign the Workspace Admin
Enter the Workspace Admin Email. This is required for reseller purchases and sets the customer who will manage the subscription. Add a PO Number if you need one (optional).

Step 4: Choose a payment method
Select your Primary card, or choose Pay with a new card and enter the details. When you add a new card, you can select Save this card for renewals and Use my account billing address for this card.

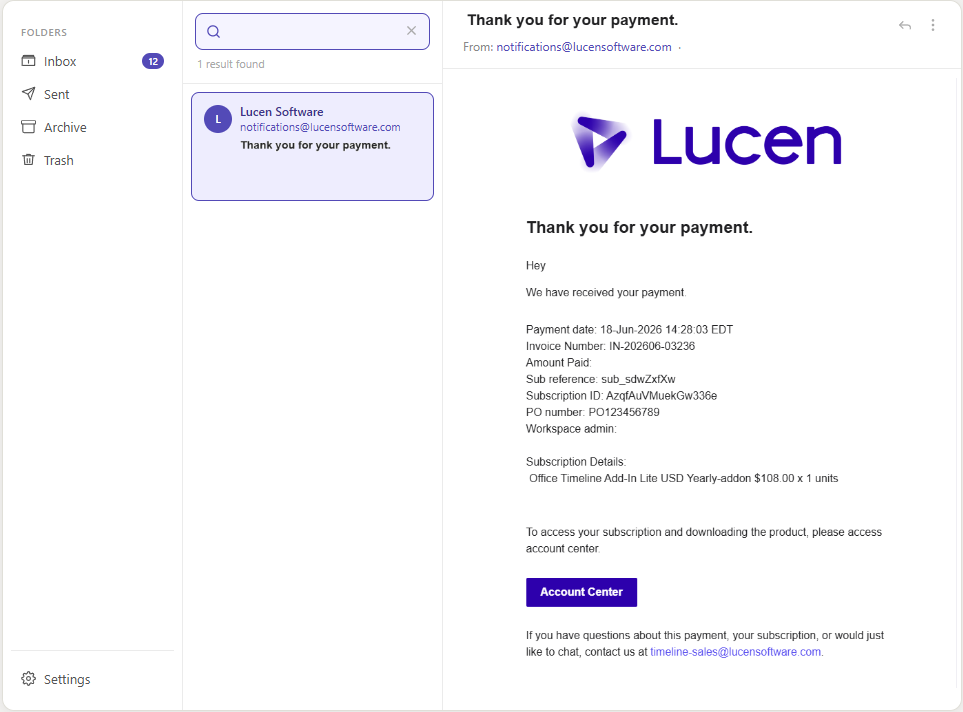
Step 5: Complete the purchase
Click Pay $[amount]. A confirmation appears and the subscription is active immediately. You can view the invoice under Admin > Purchases, or in the subscription's Invoices section.
B) Add seats to an existing subscription
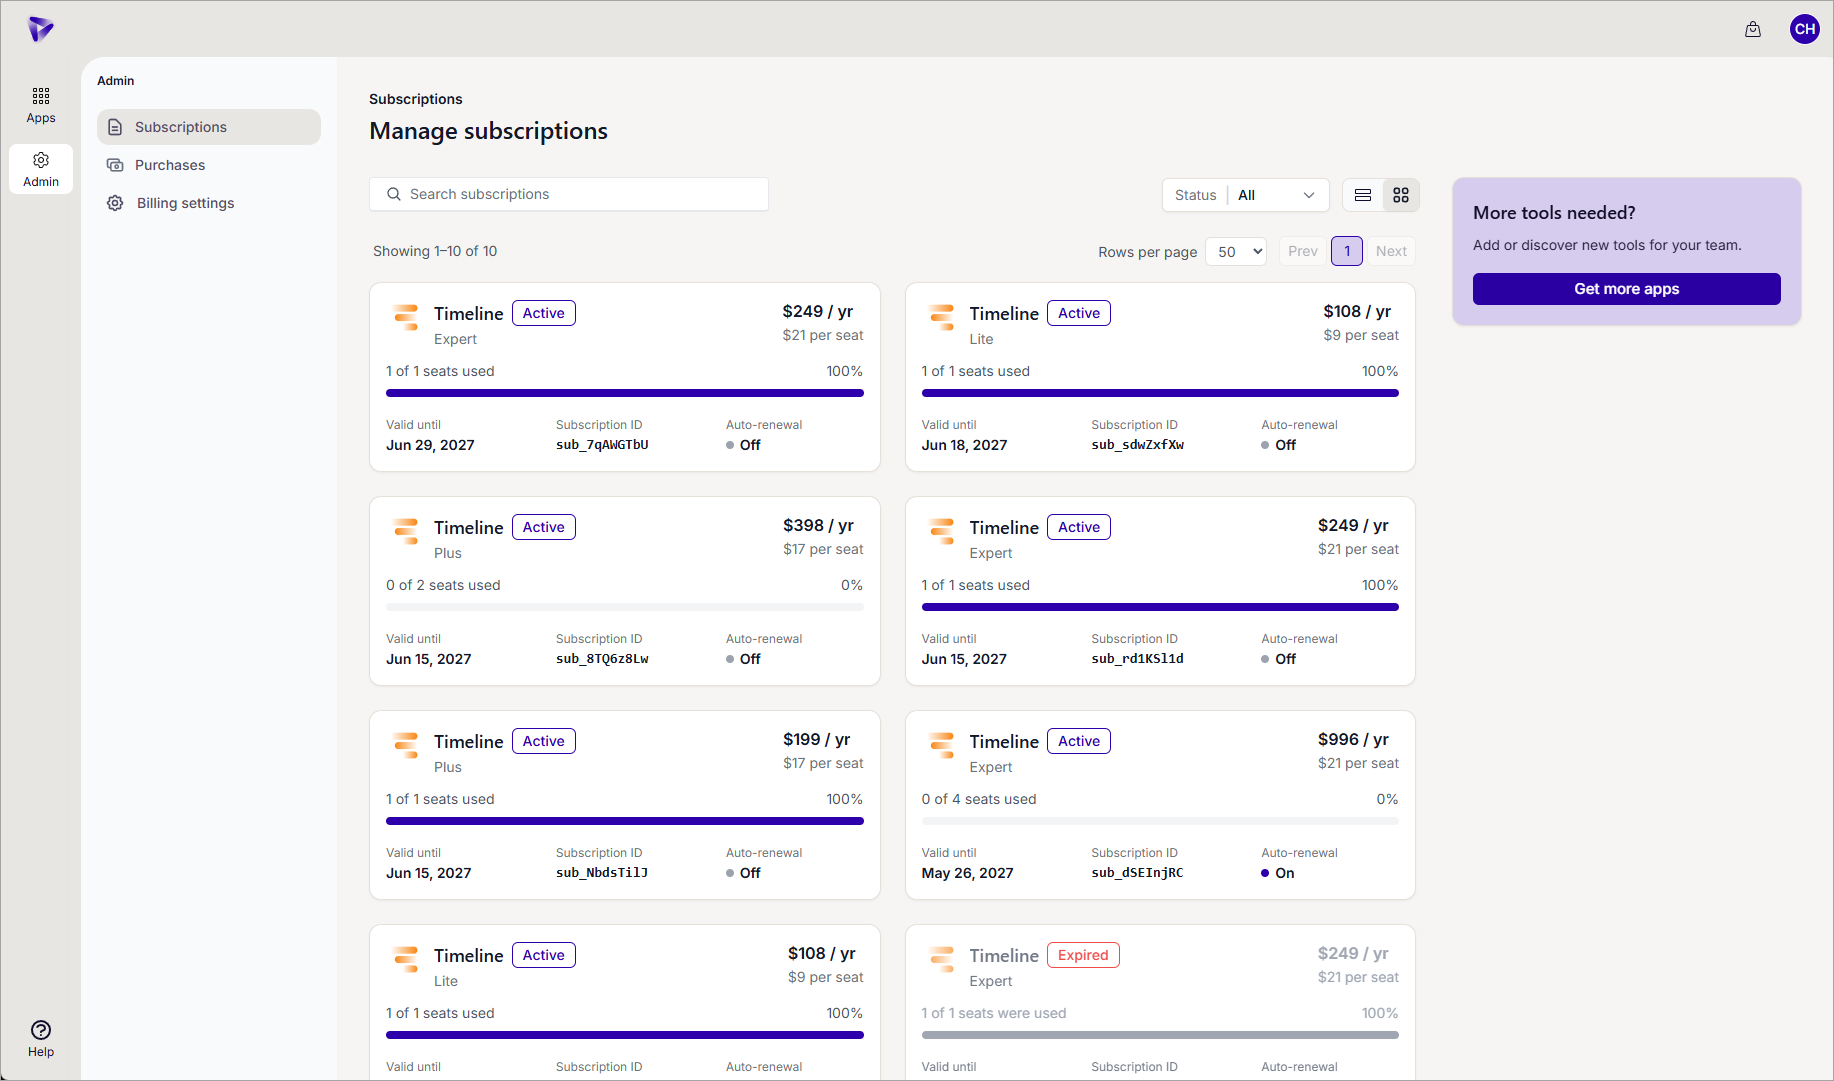
Step 1: Open the subscription
Go to Admin in the left navigation and select Subscriptions. Select the subscription you want to update.
Step 2: Open the seat options
At the top of the page, go to Manage seats.
Step 3: Set the number of seats
Set the number of seats you want to add, then continue to checkout.
Step 4: Complete the purchase
Confirm your payment method, then click Pay $[amount]. The additional seats are available immediately.
C) Upgrade a subscription plan
Step 1: Open the subscription
Go to Admin in the left navigation and select Subscriptions. Select the subscription you want to upgrade.
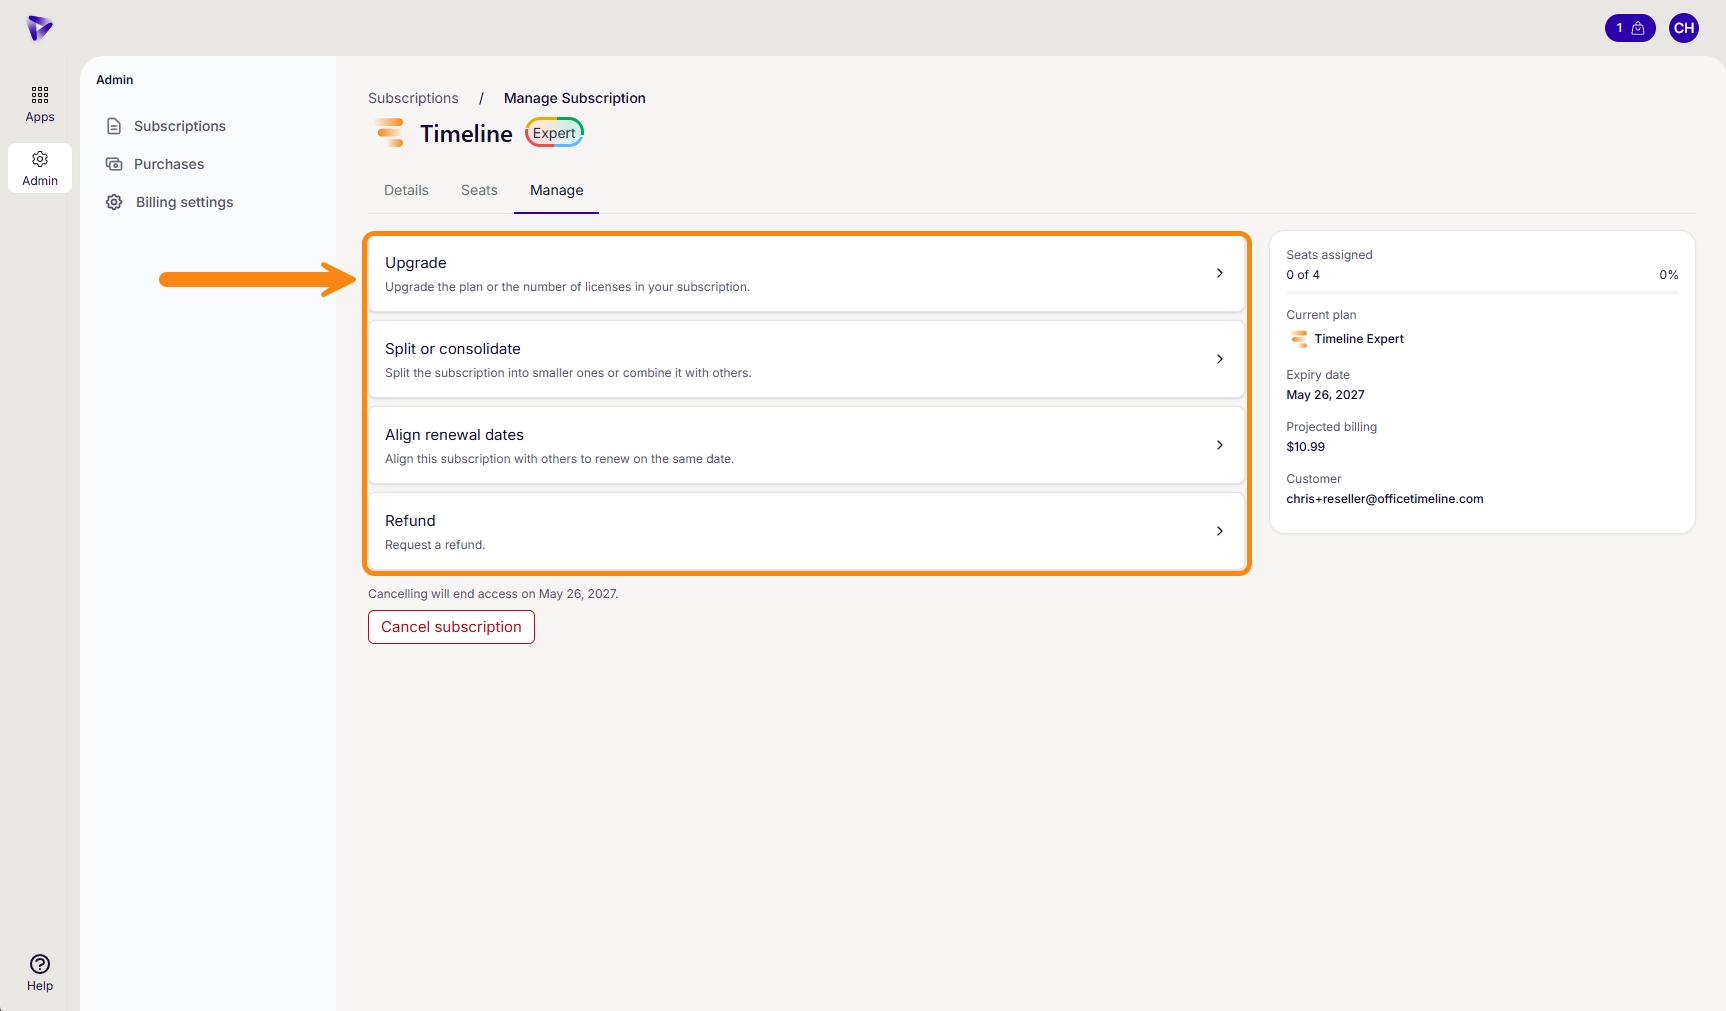
Step 2: Open the upgrade options
At the top of the page, go to Manage.
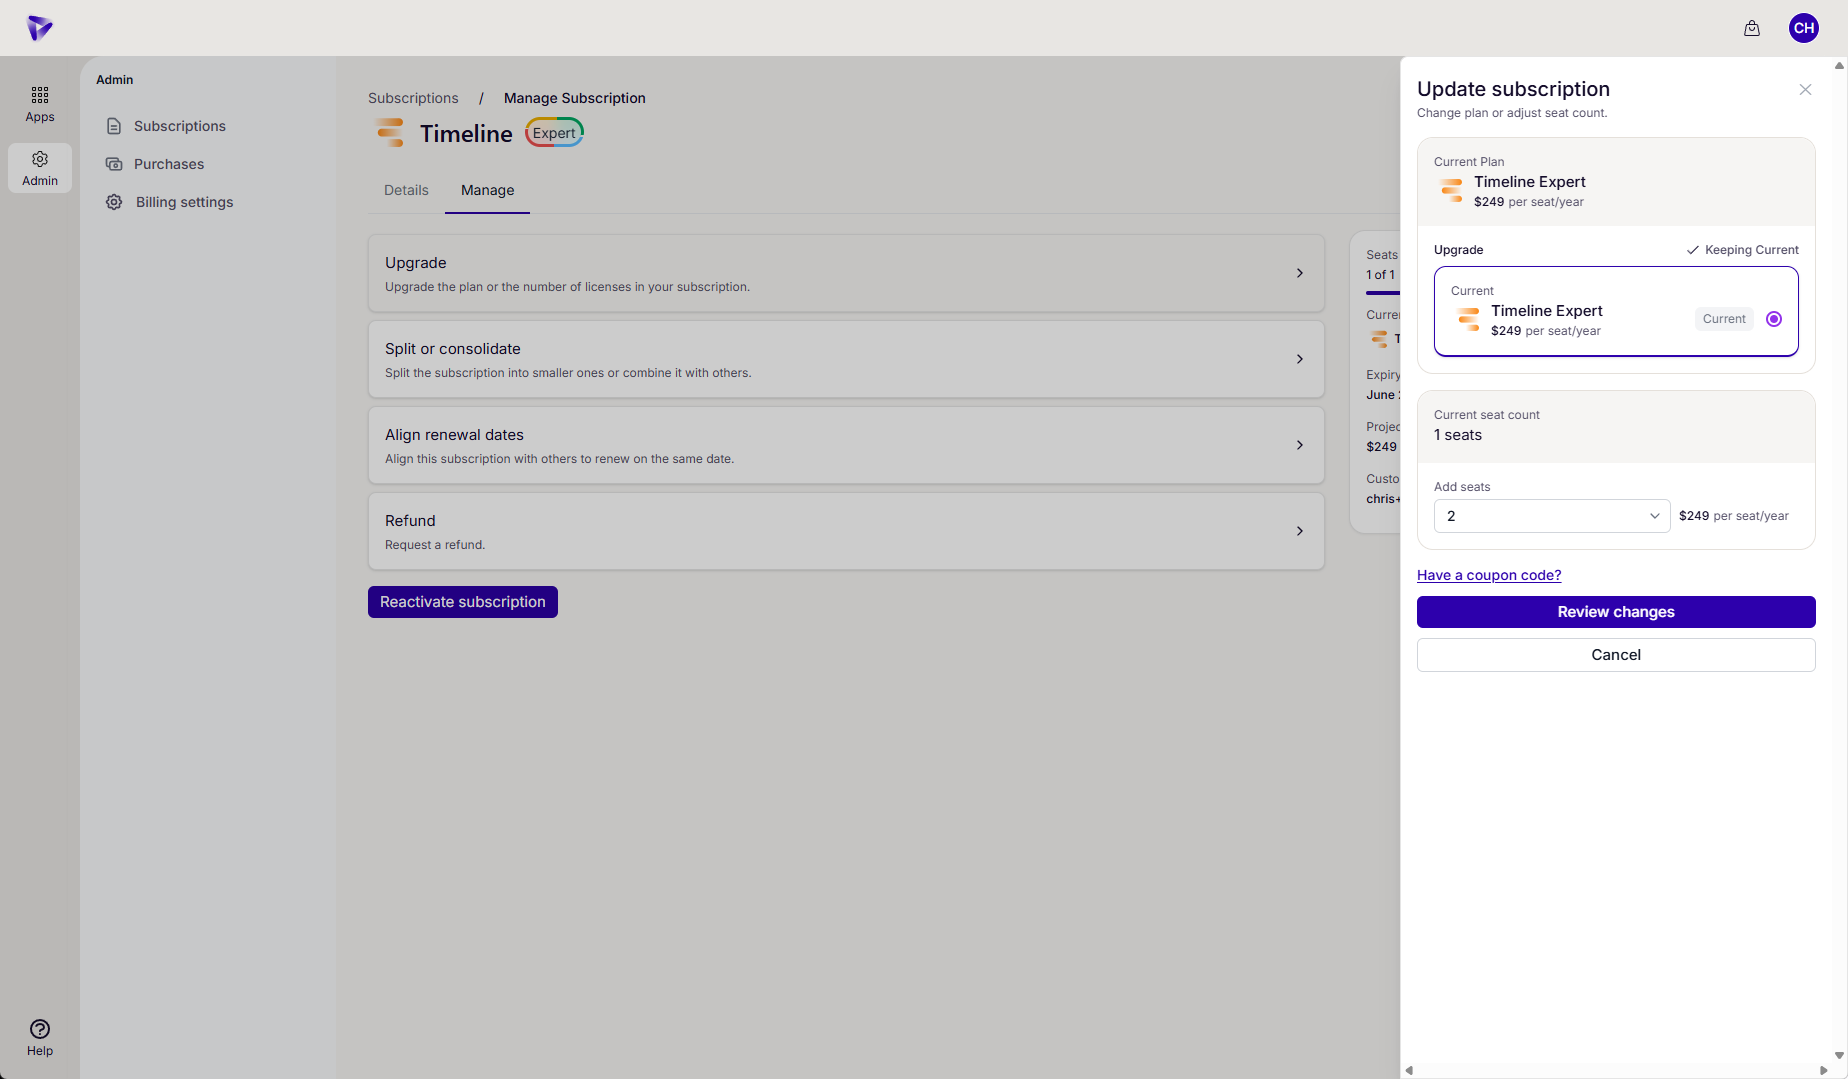
Step 3: Choose the new plan
Select the new plan and review the prorated total, then continue to checkout.
Step 4: Complete the purchase
Confirm your payment method, then click Pay $[amount]. The upgrade applies immediately.